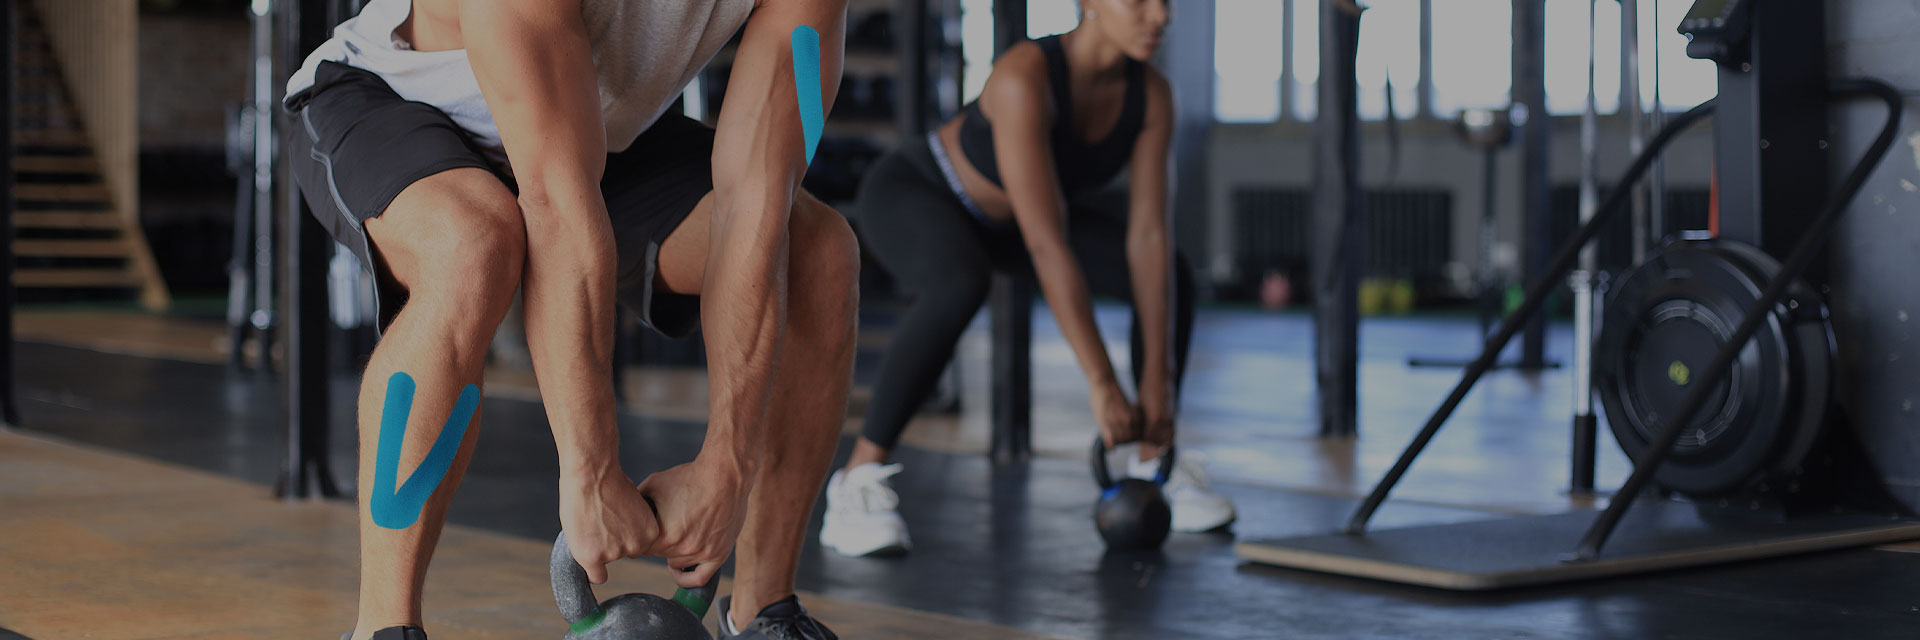
Kinesiology tape has become a staple in sports medicine and physical therapy, helping athletes and everyday users manage pain, improve circulation, and support muscles and joints. While traditional rolls of kinesiology tape require precise cutting and measuring, pre-cut kinesiology tape offers a convenient alternative, making it easier for anyone to apply the tape correctly. Here’s everything you need to know about using pre-cut kinesiology tape effectively.
What is Pre-Cut Kinesiology Tape?
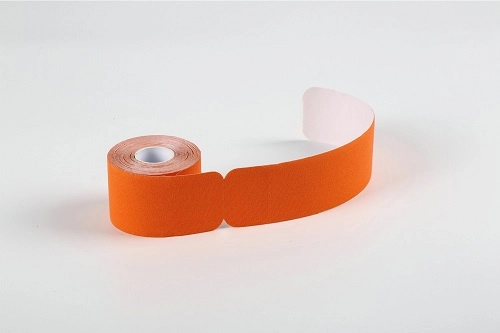
Pre-cut kinesiology tape comes in ready-to-use strips designed for specific body parts or injuries. Unlike traditional rolls, which require manual cutting into shapes like “I,” “Y,” “X,” or “fan” patterns, pre-cut strips save time and reduce the risk of improper application. They are typically labeled for areas such as the knee, shoulder, back, wrist, or ankle, making them beginner-friendly and ideal for at-home use.
Benefits of Pre-Cut Kinesiology Tape
- Ease of Use: No measuring or cutting is required. You simply peel and stick the tape to the target area.
- Consistency: Pre-cut strips are designed to provide the correct tension and shape for the intended muscle or joint.
- Time-Saving: Perfect for athletes, busy professionals, or anyone seeking quick relief.
- Reduced Waste: With pre-cut lengths, you avoid accidentally cutting too much tape and wasting material.
How to Apply Pre-Cut Kinesiology Tape
Applying pre-cut kinesiology tape is straightforward but requires a few key steps to ensure maximum effectiveness:
- Clean and Dry the Skin: Remove any oils, lotions, or sweat from the area where you will apply the tape. Clean, dry skin ensures better adhesion and reduces the risk of peeling.
- Position the Body Correctly: Depending on the area being taped, stretch or move the joint into the position recommended for the injury or support. For example, slightly bend your knee when applying tape to the quadriceps.
- Peel the Backing: Most pre-cut tape has a split paper backing. Peel from one end carefully to avoid touching the adhesive side too much.
- Apply with Correct Tension: Apply the tape along the muscle or joint according to instructions. Most pre-cut strips indicate whether they require light, moderate, or full stretch. Avoid overstretching, as it can irritate the skin or reduce the tape’s effectiveness.
- Smooth Out Air Bubbles: After placing the tape, rub gently from the center outward to activate the adhesive and ensure full contact with the skin.
- Check for Comfort: Move the taped area slowly to ensure the tape supports the muscle or joint without causing discomfort. The tape should feel like a gentle lift, not a tight constriction.
Tips for Best Results
- Test for Skin Sensitivity: Apply a small piece first to ensure you don’t have an allergic reaction.
- Avoid Stretching the Ends: Most pre-cut tape strips are designed to have unstretched ends to prevent peeling.
- Use on Clean Skin: Hair, lotion, or sweat can reduce adhesion.
- Remove Properly: Gently peel from one end and, if needed, use warm water or oil to minimize discomfort.
When to Use Pre-Cut Kinesiology Tape
- Muscle soreness and fatigue
- Joint support during activity
- Post-exercise recovery
- Minor injuries such as strains or sprains
Pre-cut kinesiology tape is a practical solution for anyone looking to reduce pain, prevent injury, or support muscles and joints without the hassle of cutting and shaping tape manually. With correct application and careful attention to skin preparation, it can be a valuable tool for both athletes and everyday users.